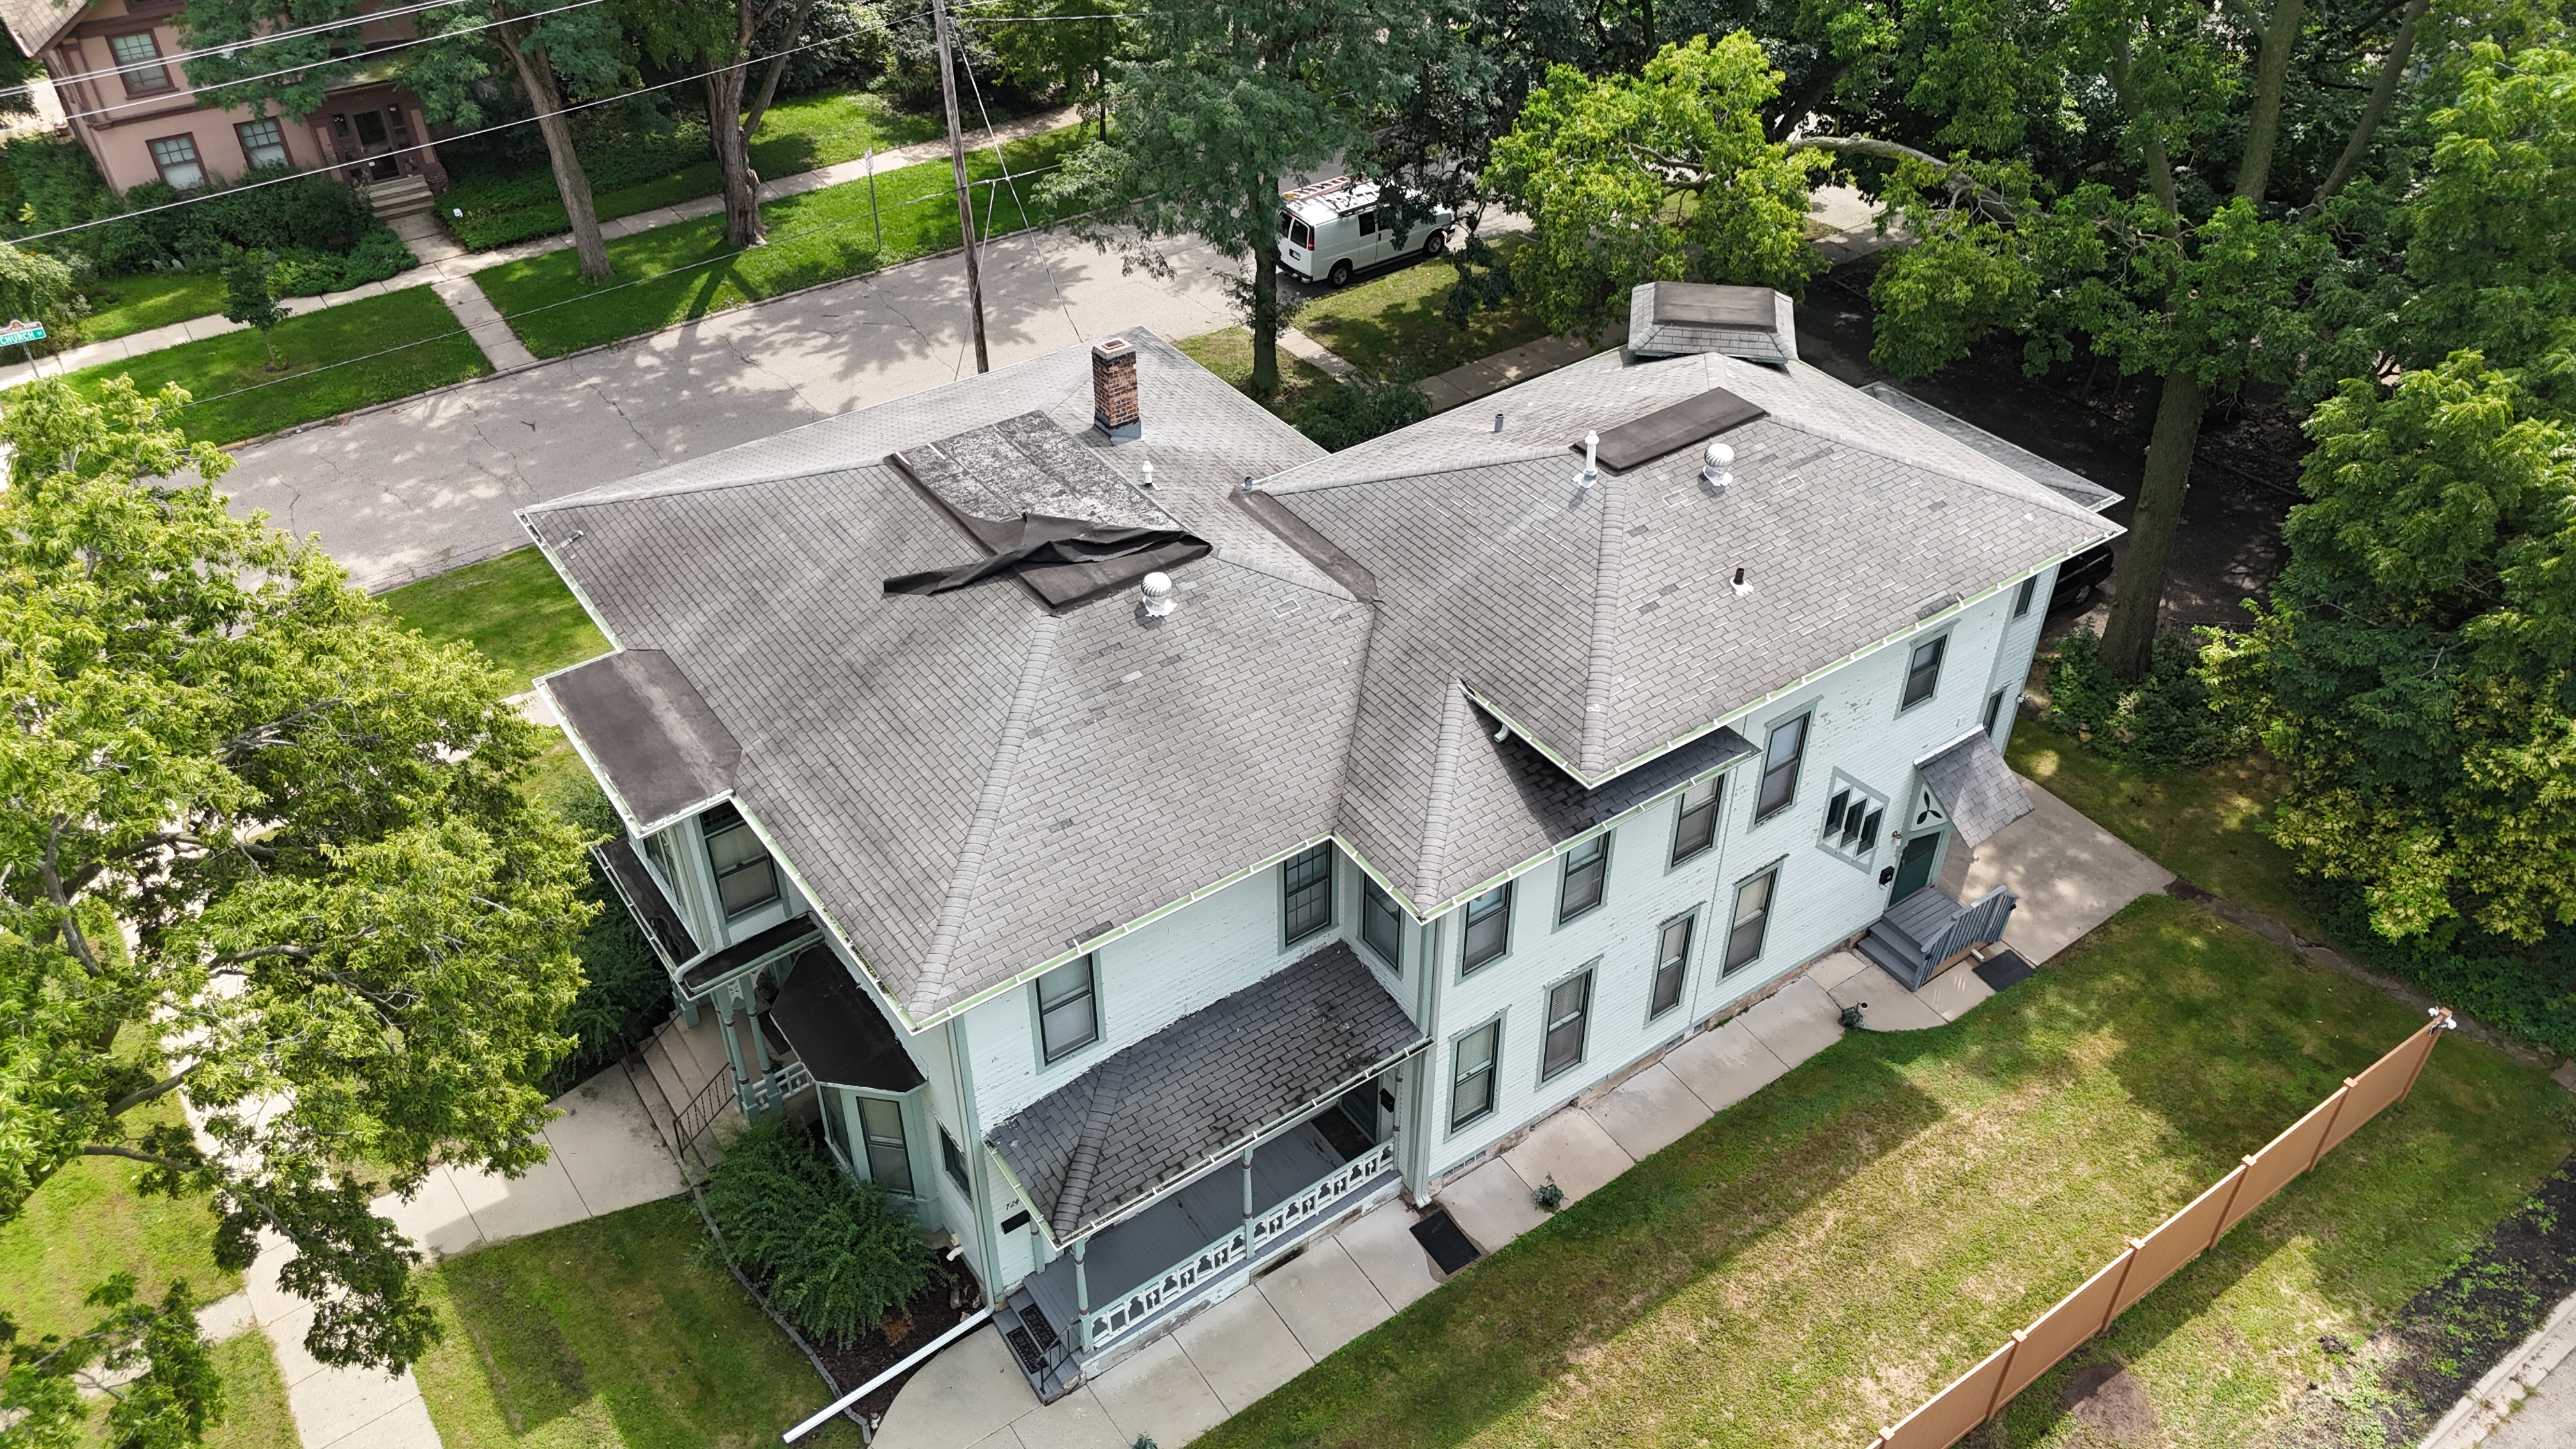
Roof
Repair.
Targeted repairs for leaks, missing shingles, flashing failures, and storm damage. We fix what's broken without pushing unnecessary replacements.
What We Fix
From minor leaks to major storm damage, we handle repairs of all sizes with the same precision and documentation.
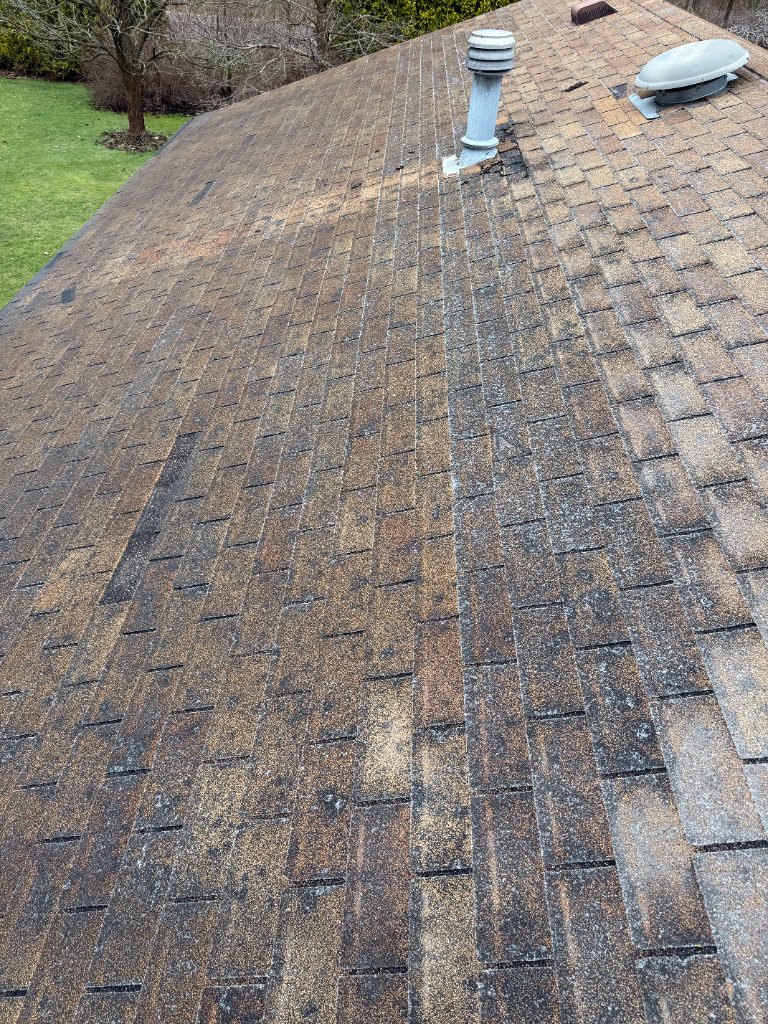
Worn shingles like these are the most common repair we see — caught early, a targeted fix prevents full replacement.
Leak Repair
Identify and permanently fix the source of roof leaks — not just the symptoms.
Missing or Damaged Shingles
Replace cracked, lifted, or missing shingles before minor damage becomes major.
Flashing Repair
Fix failing flashing around chimneys, skylights, and valleys — the most common source of leaks.
Storm Damage
Rapid assessment and repair after hail, wind, or falling debris damage to your roof.
Flat Roof Patching
Membrane repairs and re-sealing for TPO, EPDM, and modified bitumen flat roof systems.
Emergency Tarping
Same-day emergency tarping to protect your home after sudden storm damage.
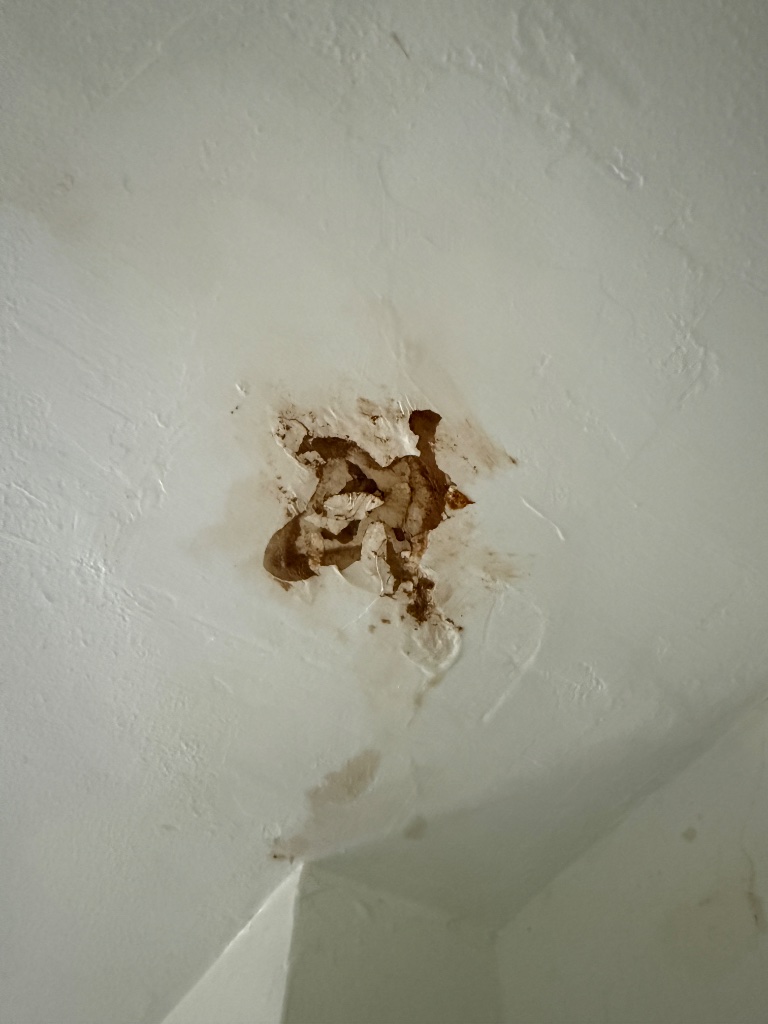
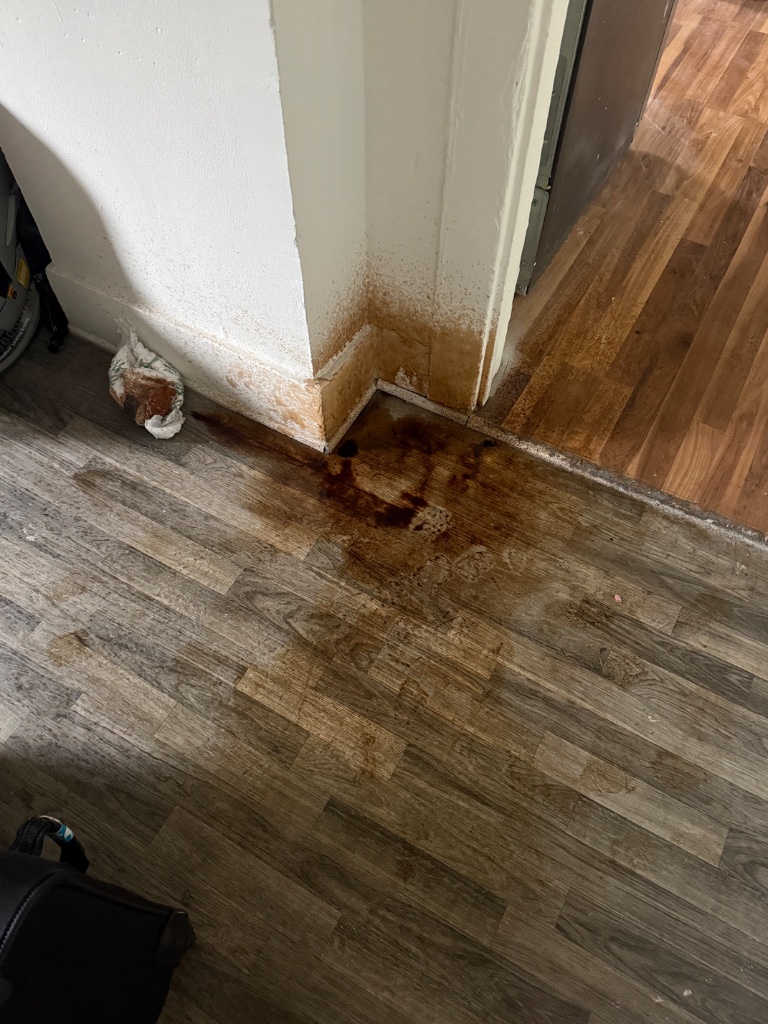
What a Roof Leak Looks Like Inside
A small roof leak doesn't stay small. By the time you see water inside, it's already traveled through your decking, insulation, and drywall — sometimes for weeks. Here's what we found during a recent inspection.
The Hidden Path of Water
Water enters through a tiny gap in your roof — a lifted shingle, a failed pipe boot, cracked flashing — then follows gravity. It soaks into insulation, pools above the drywall, and eventually breaks through. The stain you see on your ceiling is the last stop, not the first. By then, the decking above may already be compromised.
Watch Us Find the Source
These videos trace the water trail from the interior damage back to its entry point on the roof. Finding the source is the first step — fixing it before more damage occurs is the next.
Identify the Leak — Video 1
Identify the Leak — Video 2
Note: The movements in these clips are exaggerated on purpose to clearly show where water enters. During a real inspection we carefully and methodically trace the leak path without disturbing your roof.
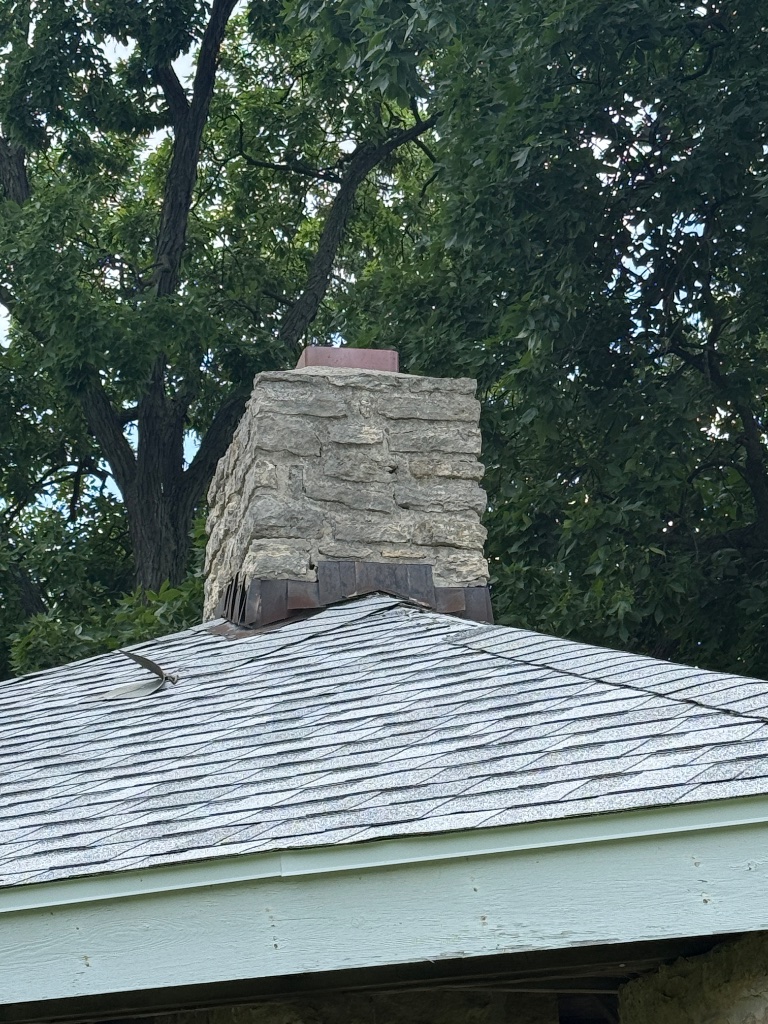
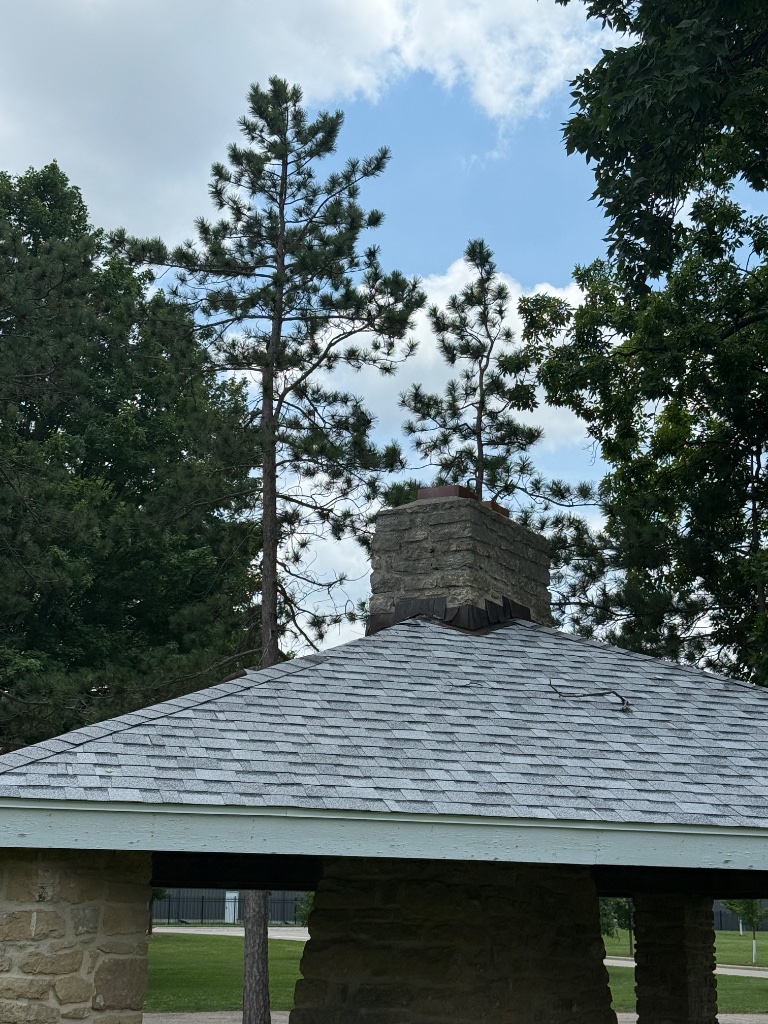
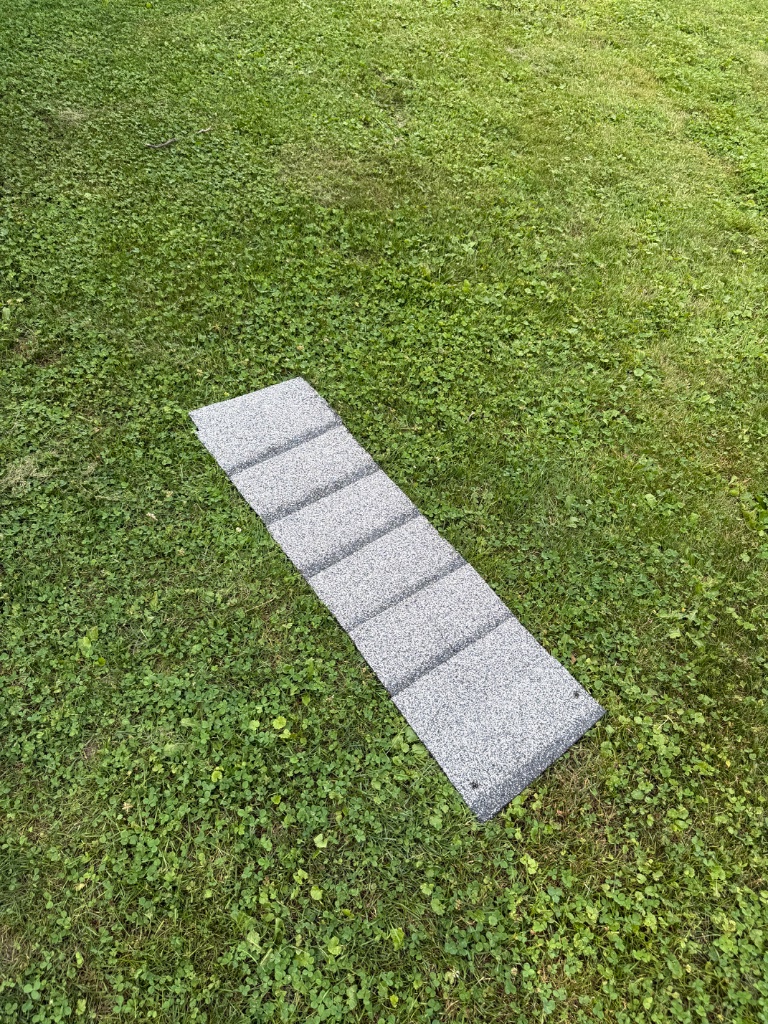
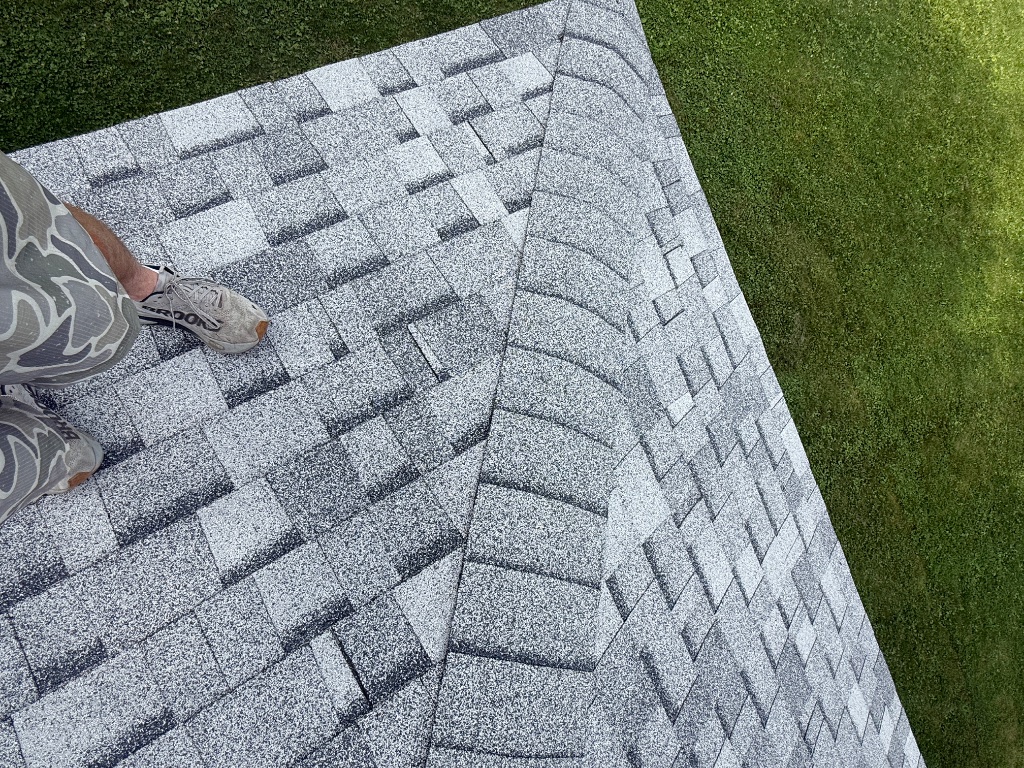
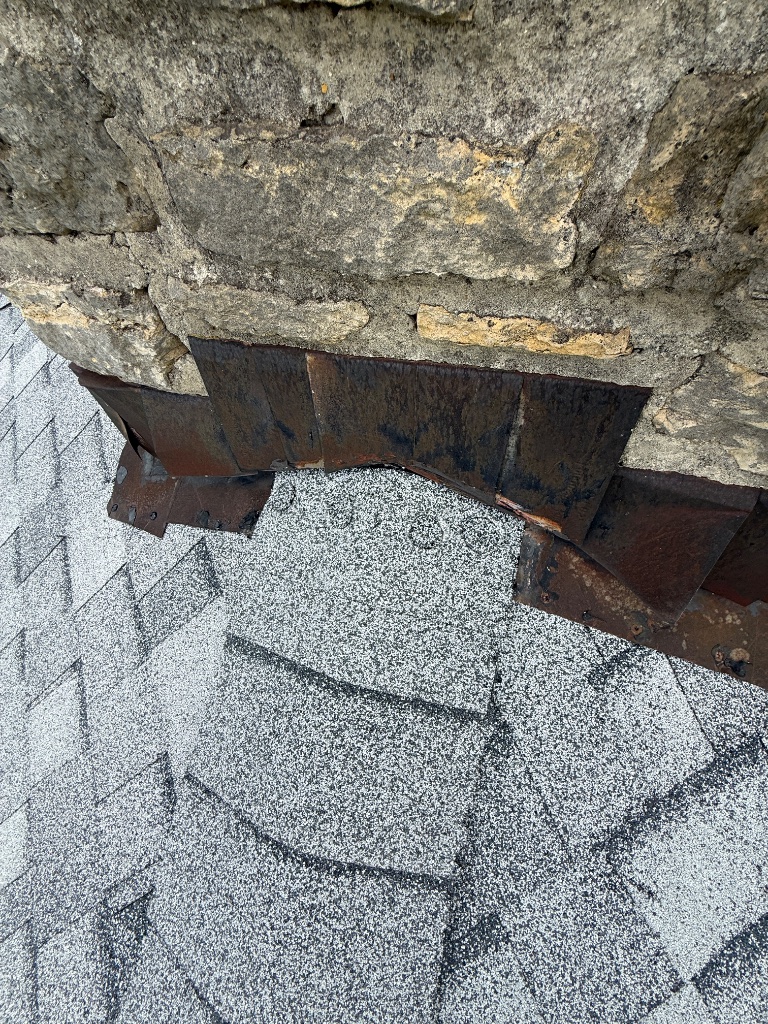
Ridge Cap Storm Repair
Wind tore the ridge cap off this roof near the chimney. Simple fix, clean result.
Emergency Tarping — Start to Finish
When storm damage exposed this roof's decking, we deployed immediately. Here's the full sequence — from drone assessment to a sealed, watertight temporary repair.
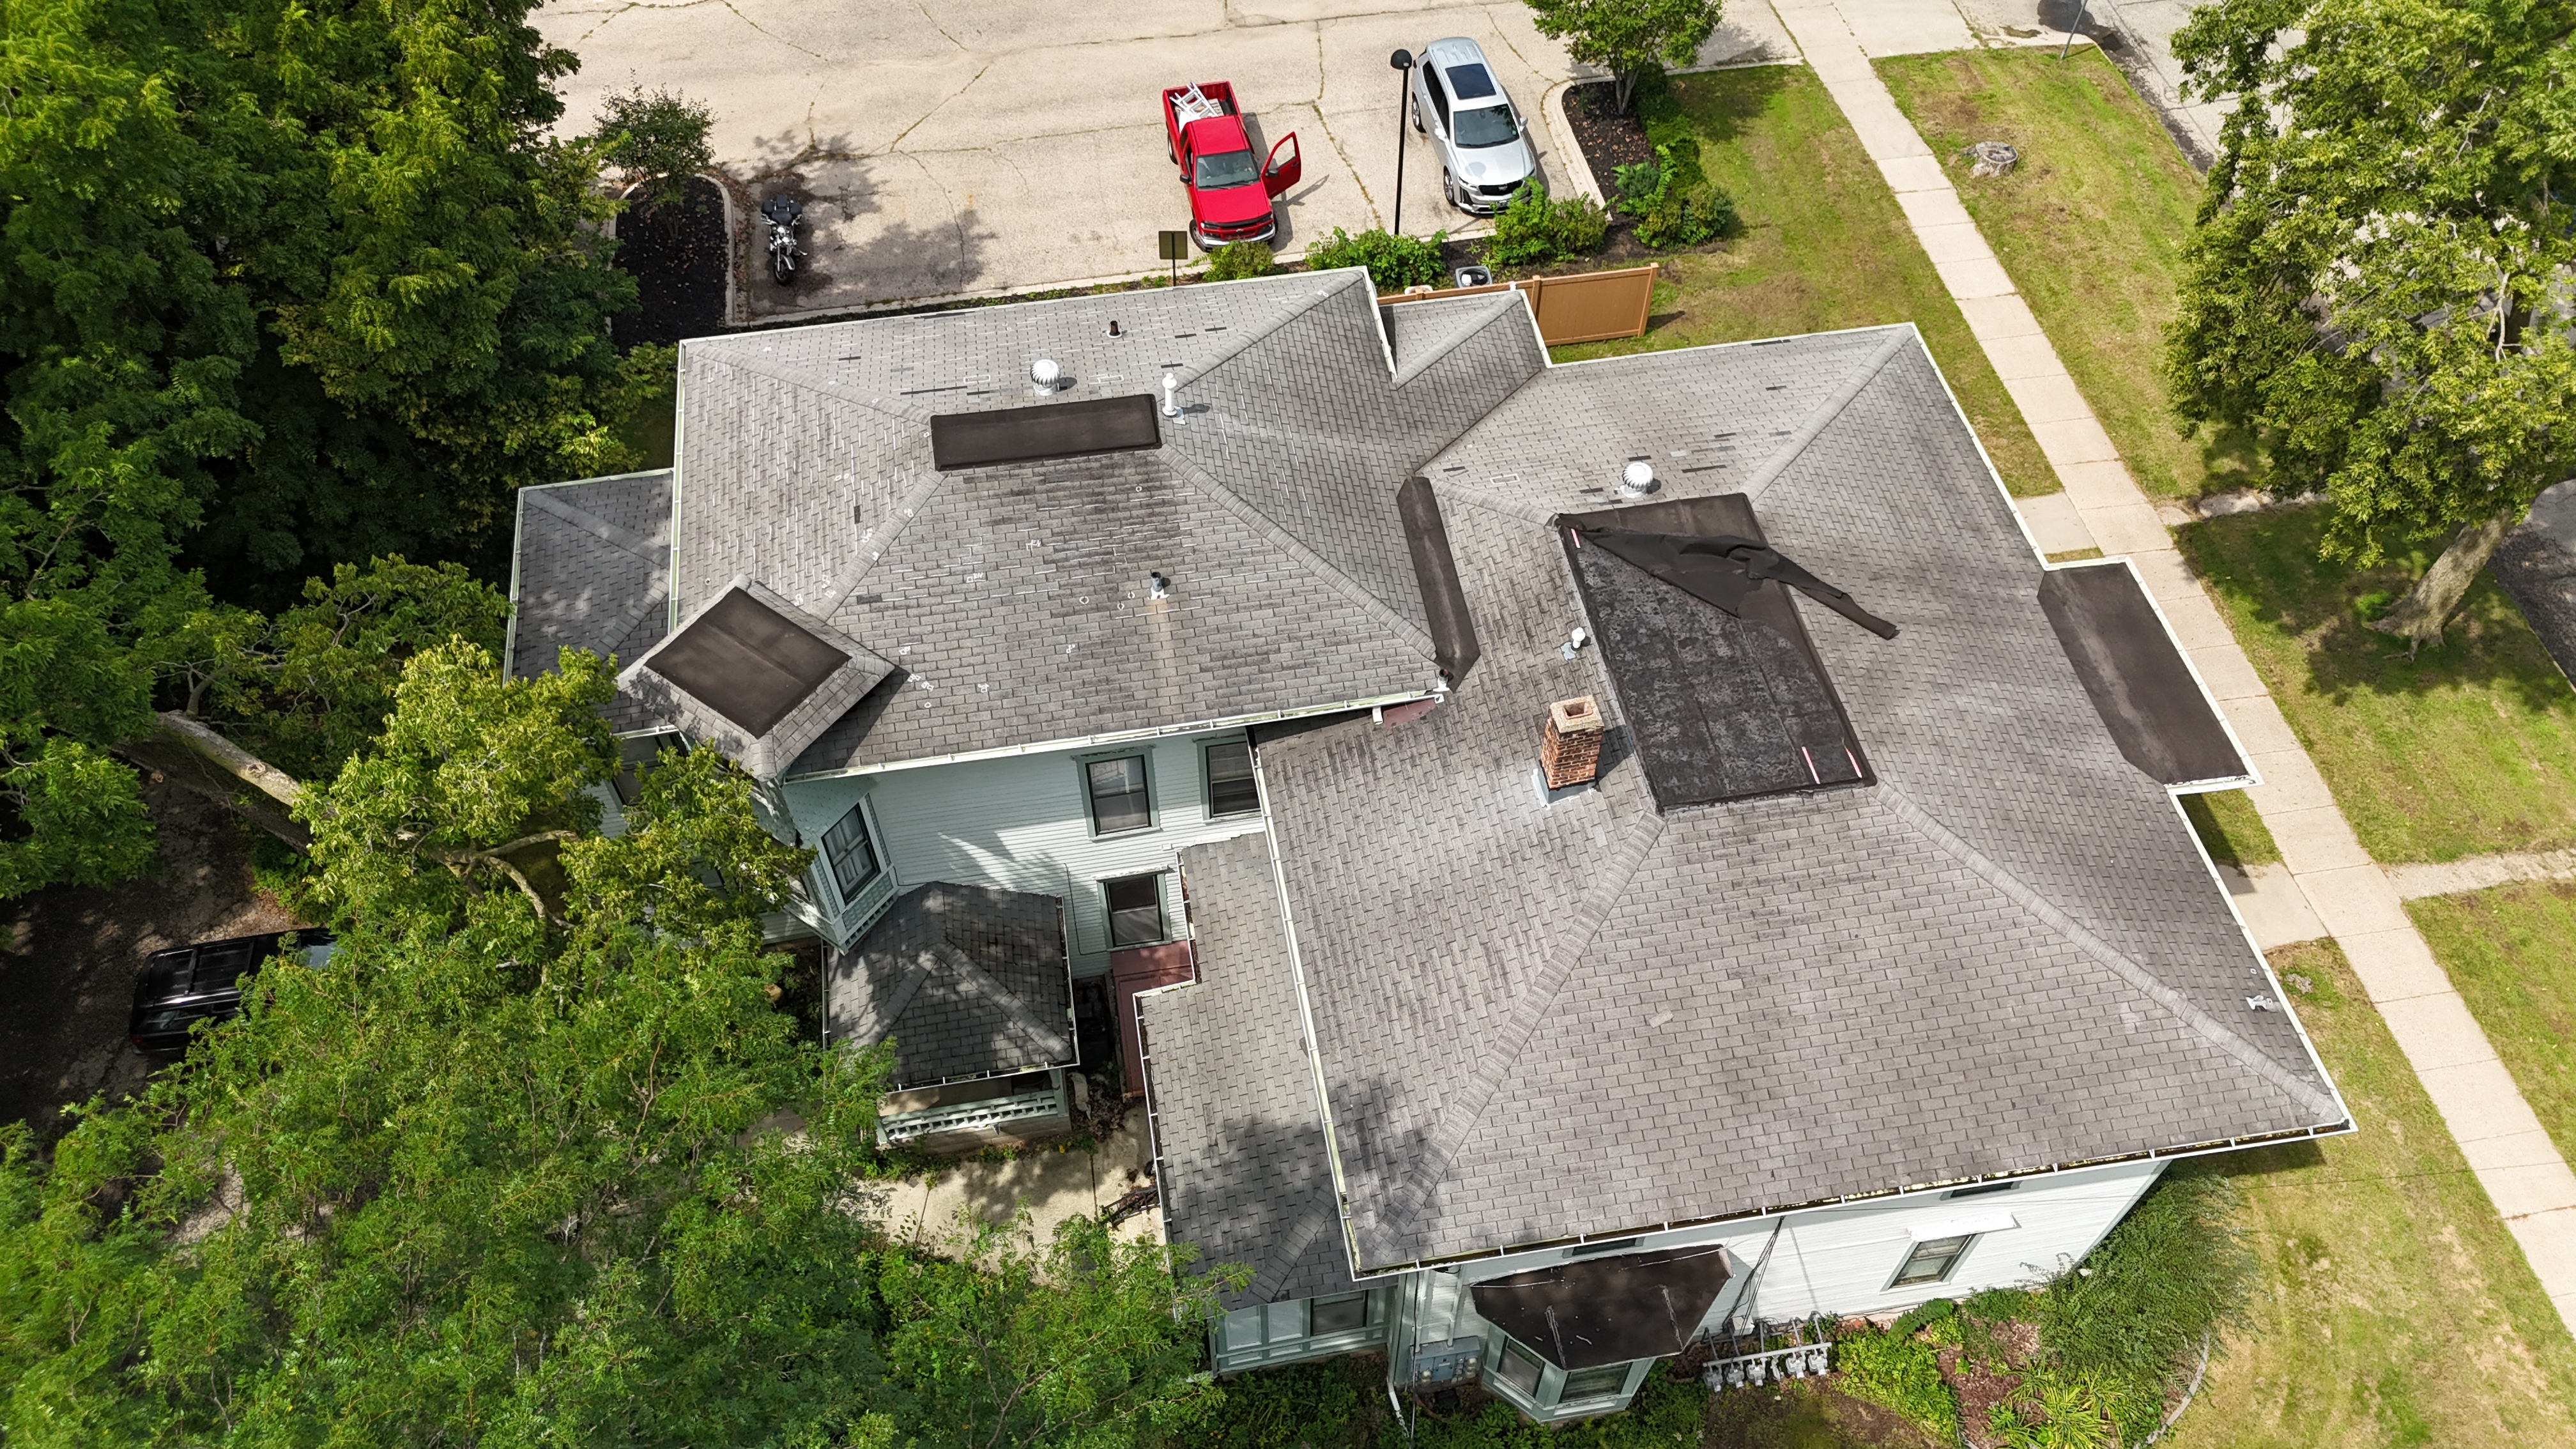 01Before — Drone Assessment
Drone flyover revealed a compromised section near the chimney — invisible from the ground.
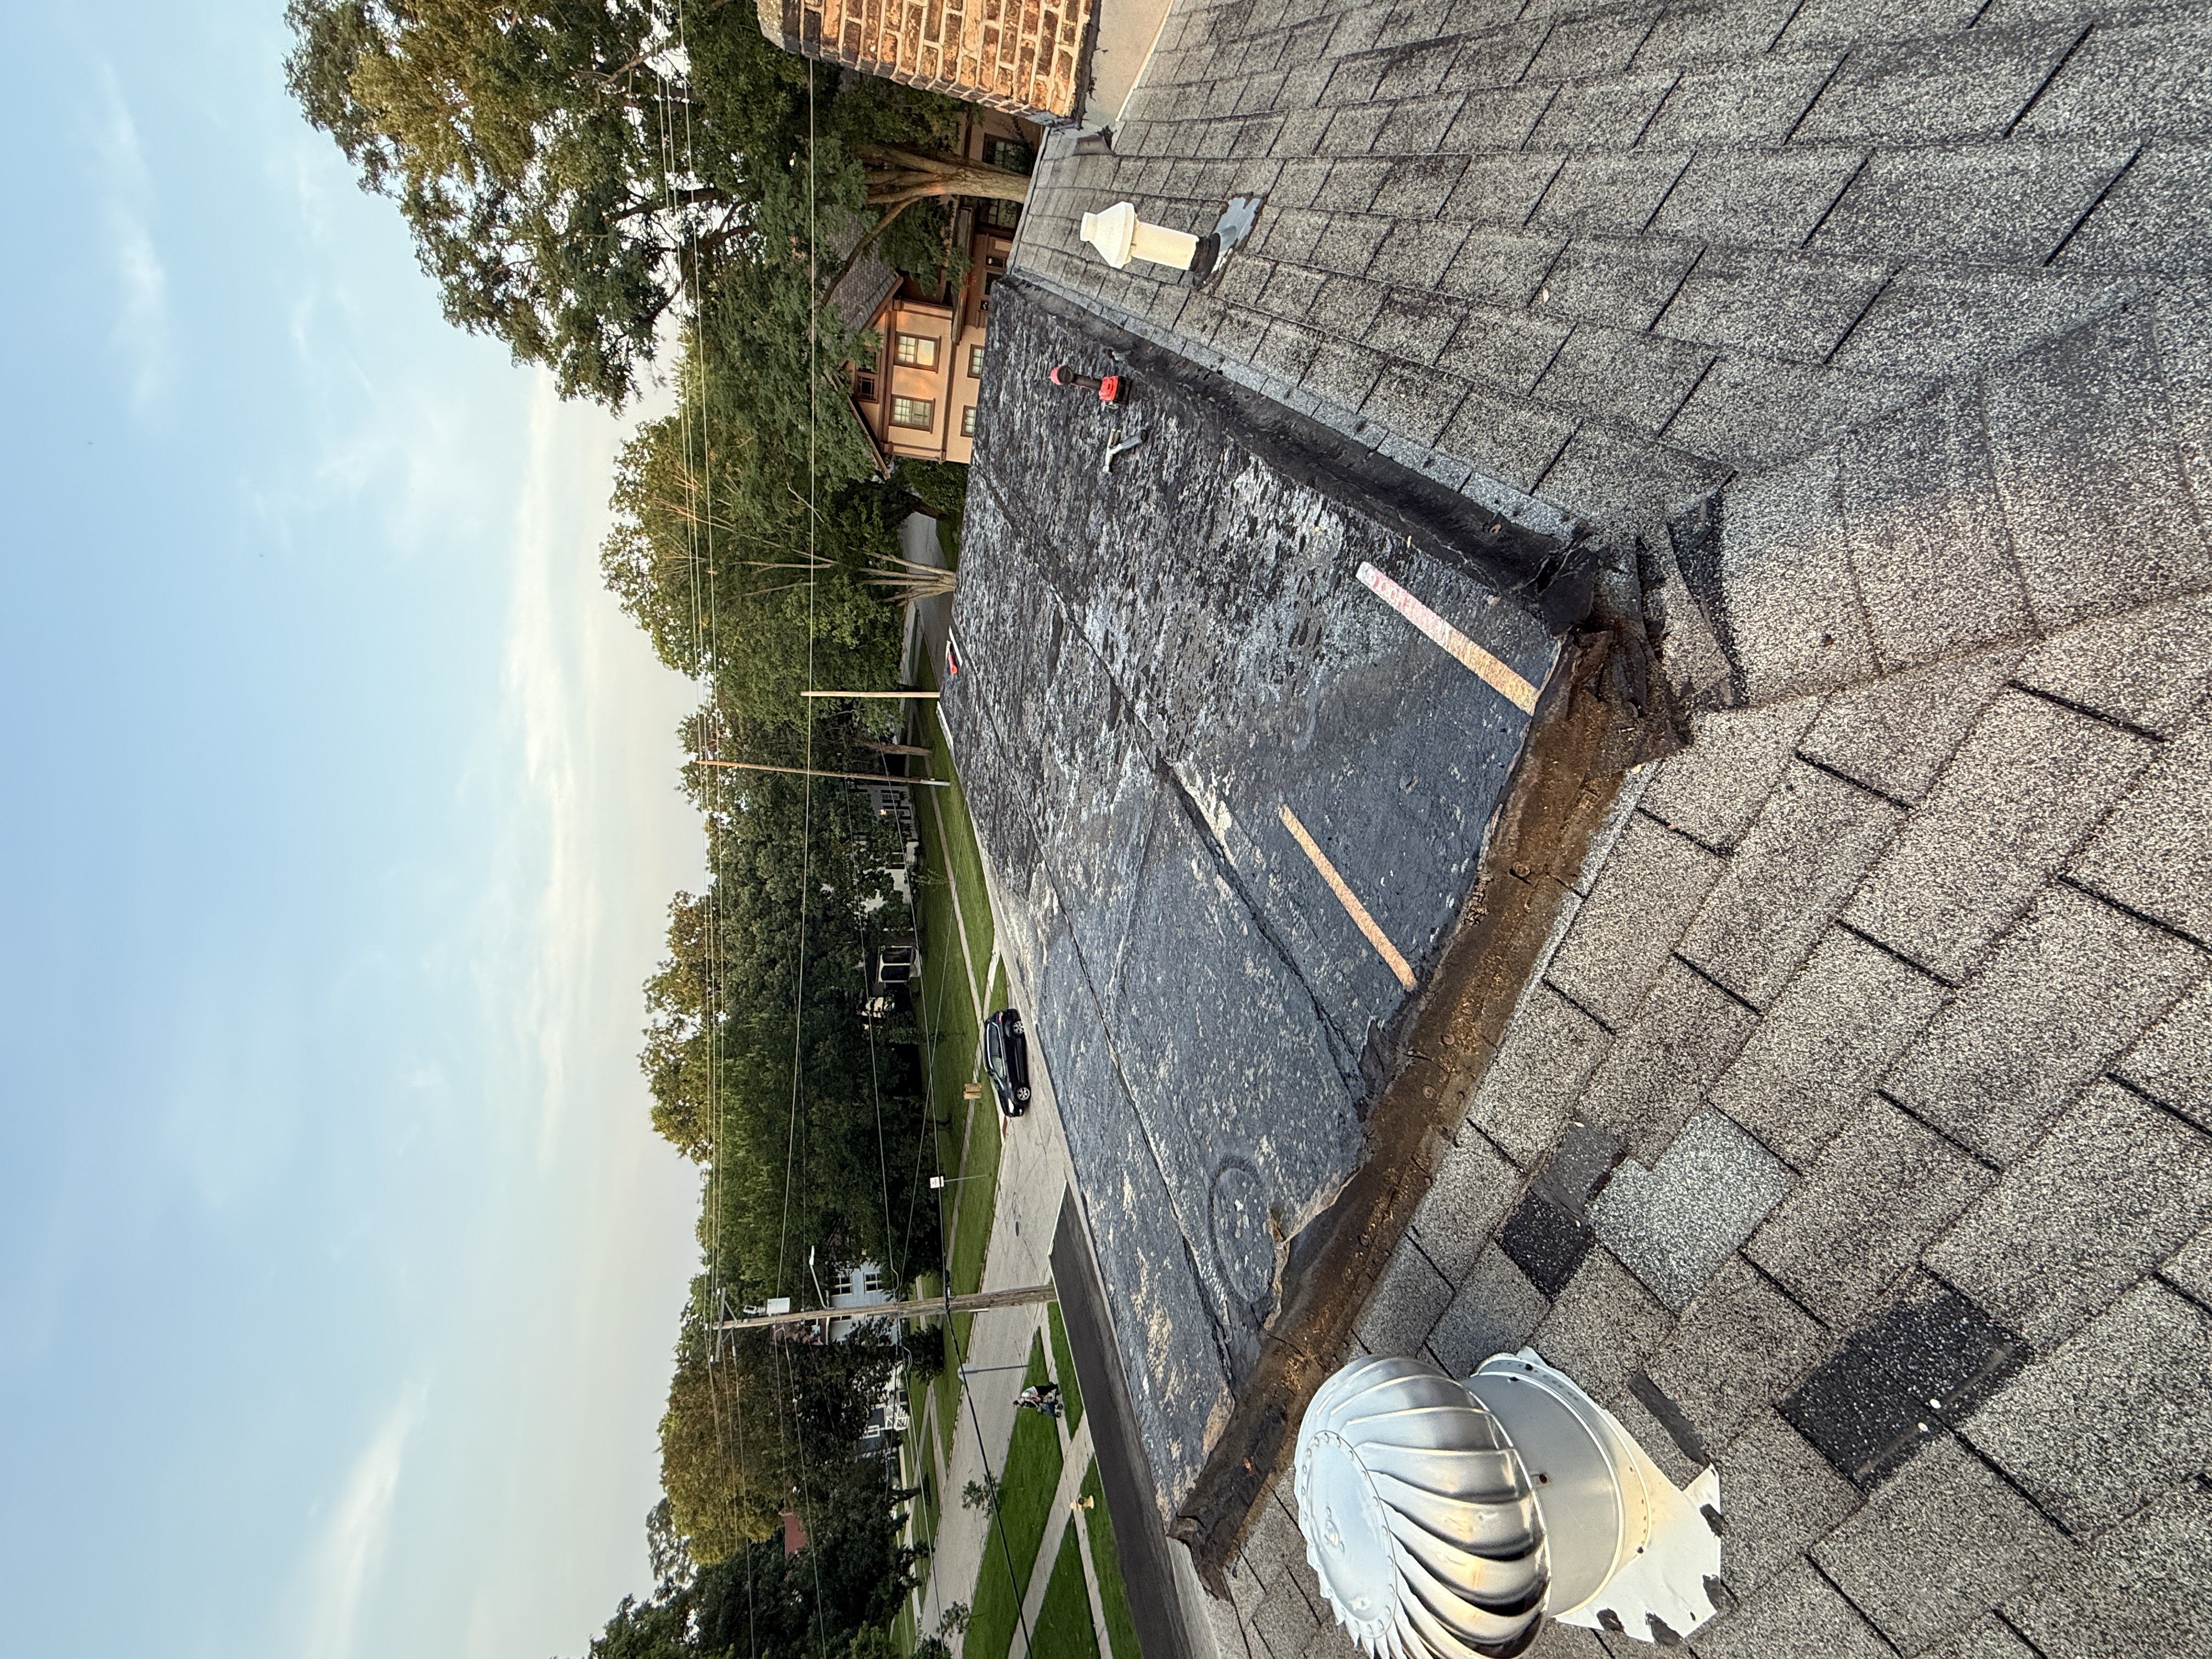 02Stripping Flapped EPDM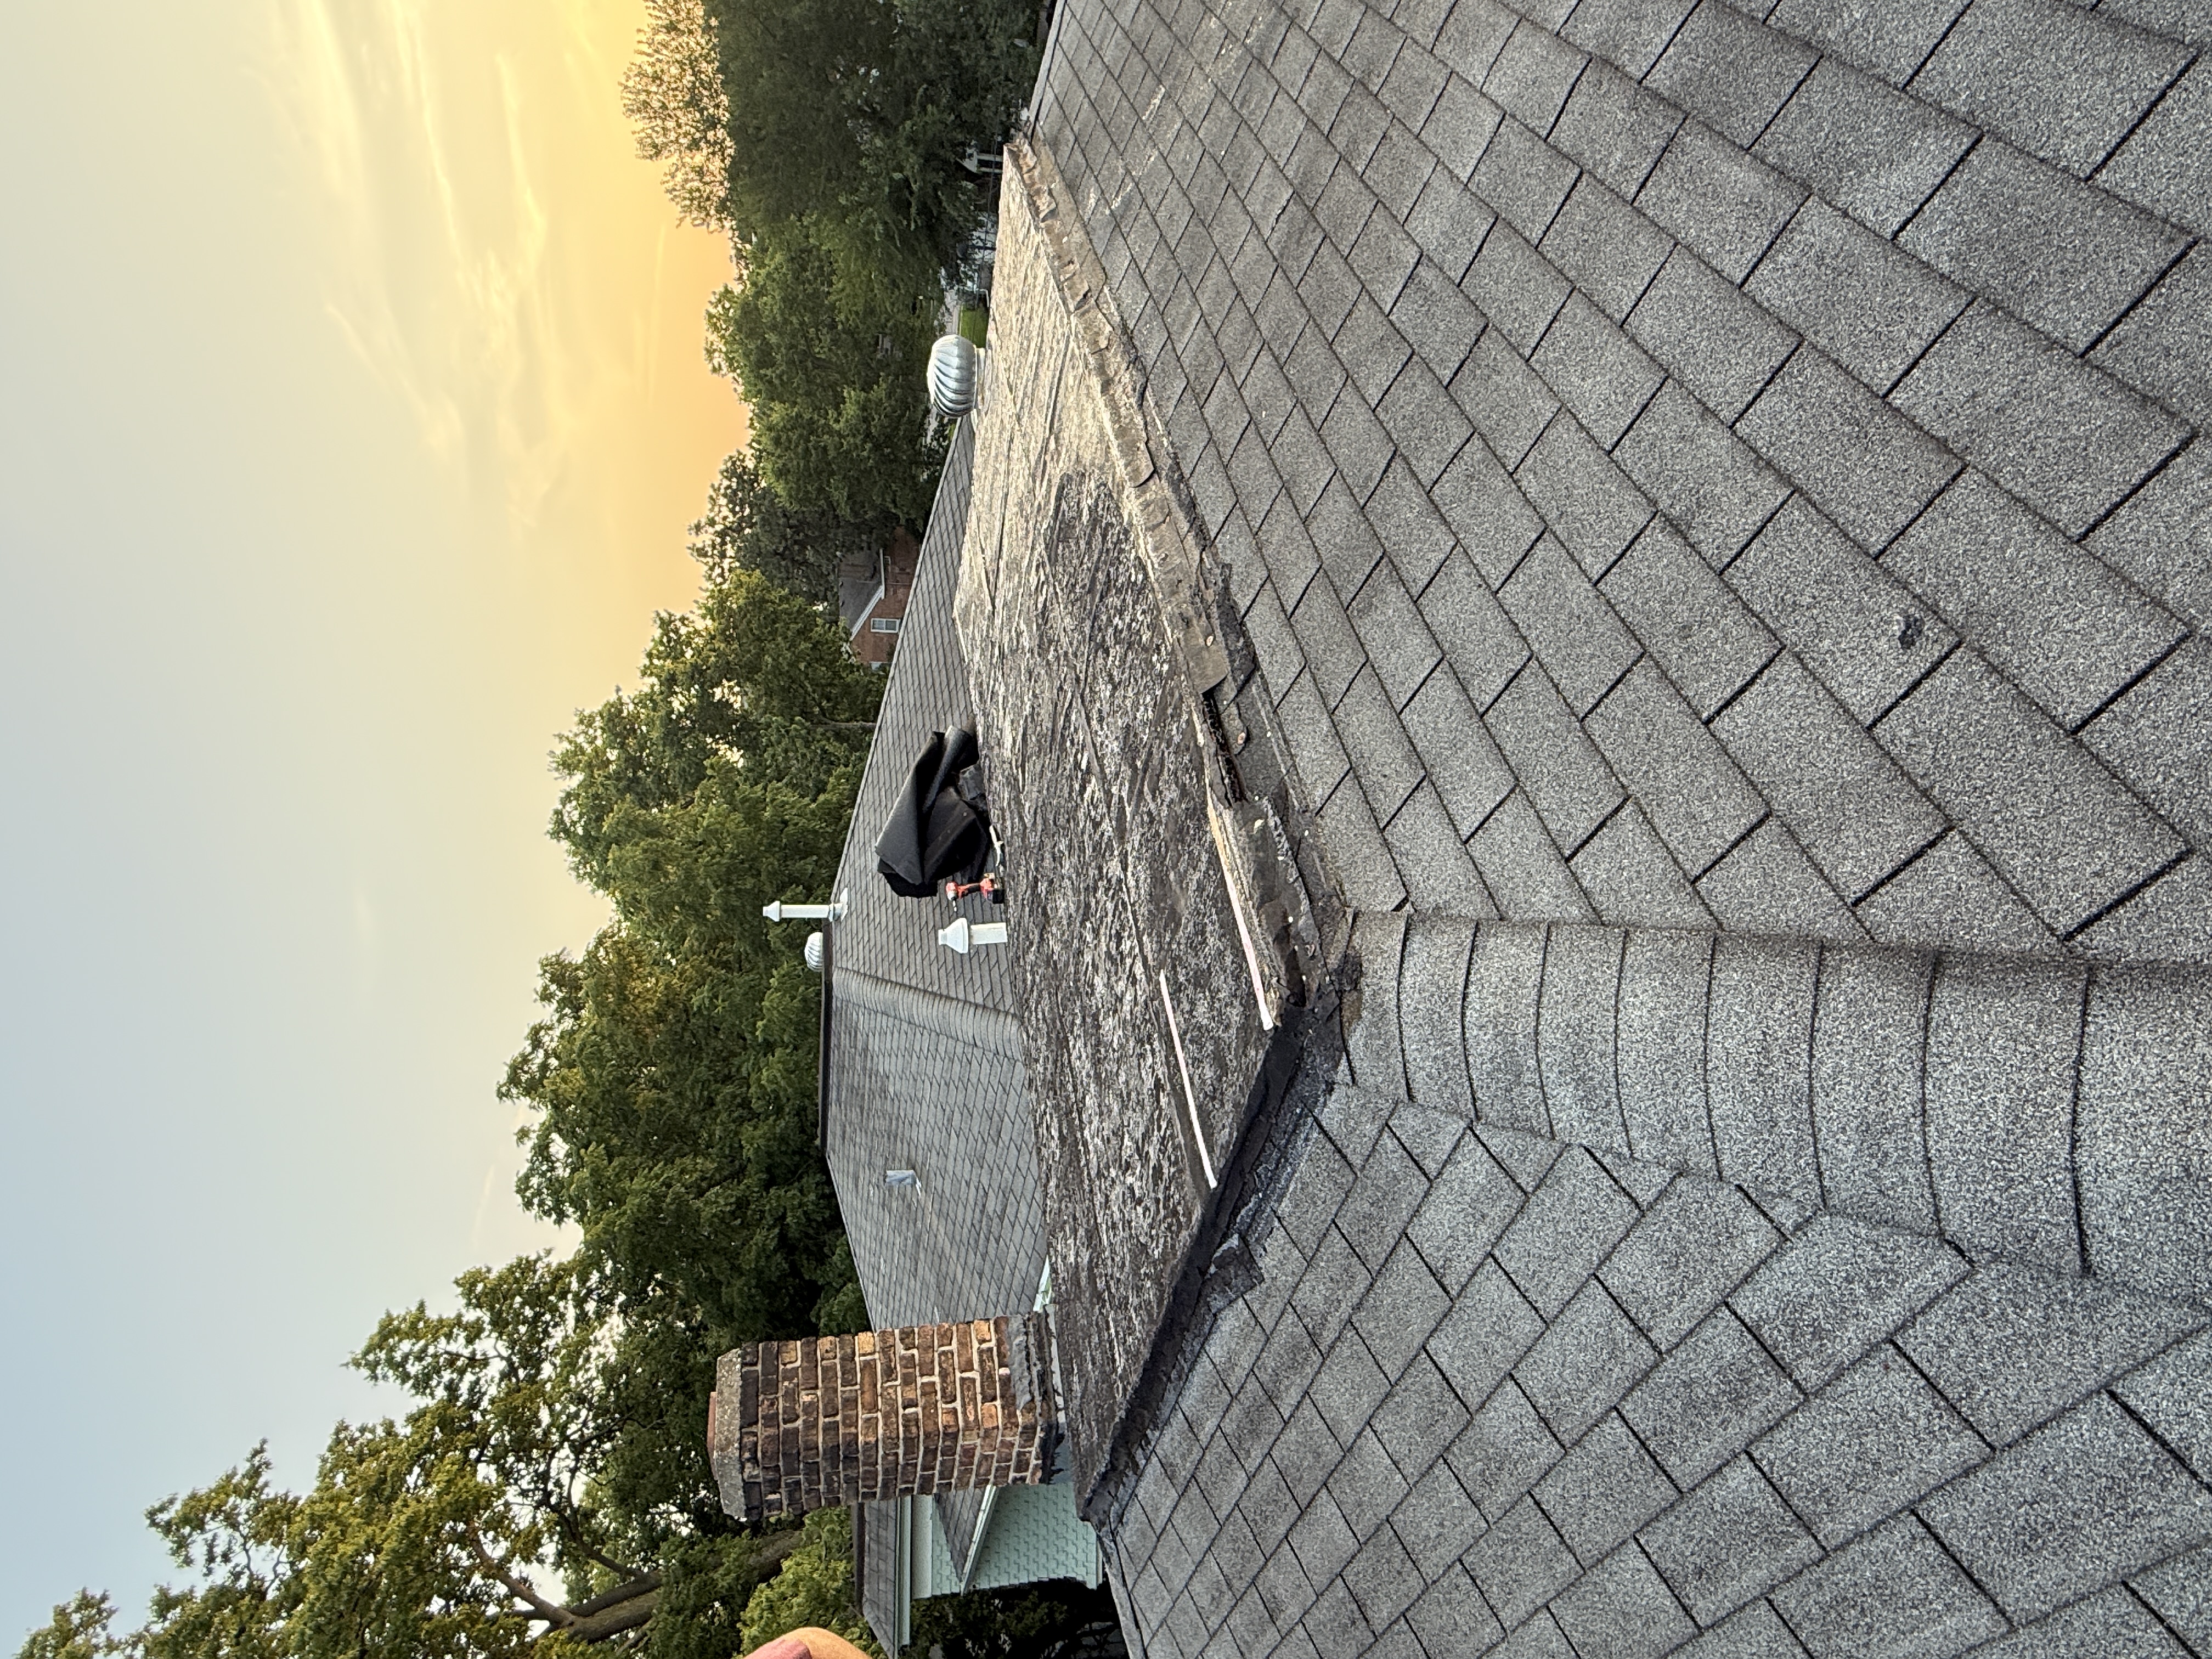
Wind had flapped the old EPDM membrane loose. Here we're peeling it back to expose the deck underneath for inspection.
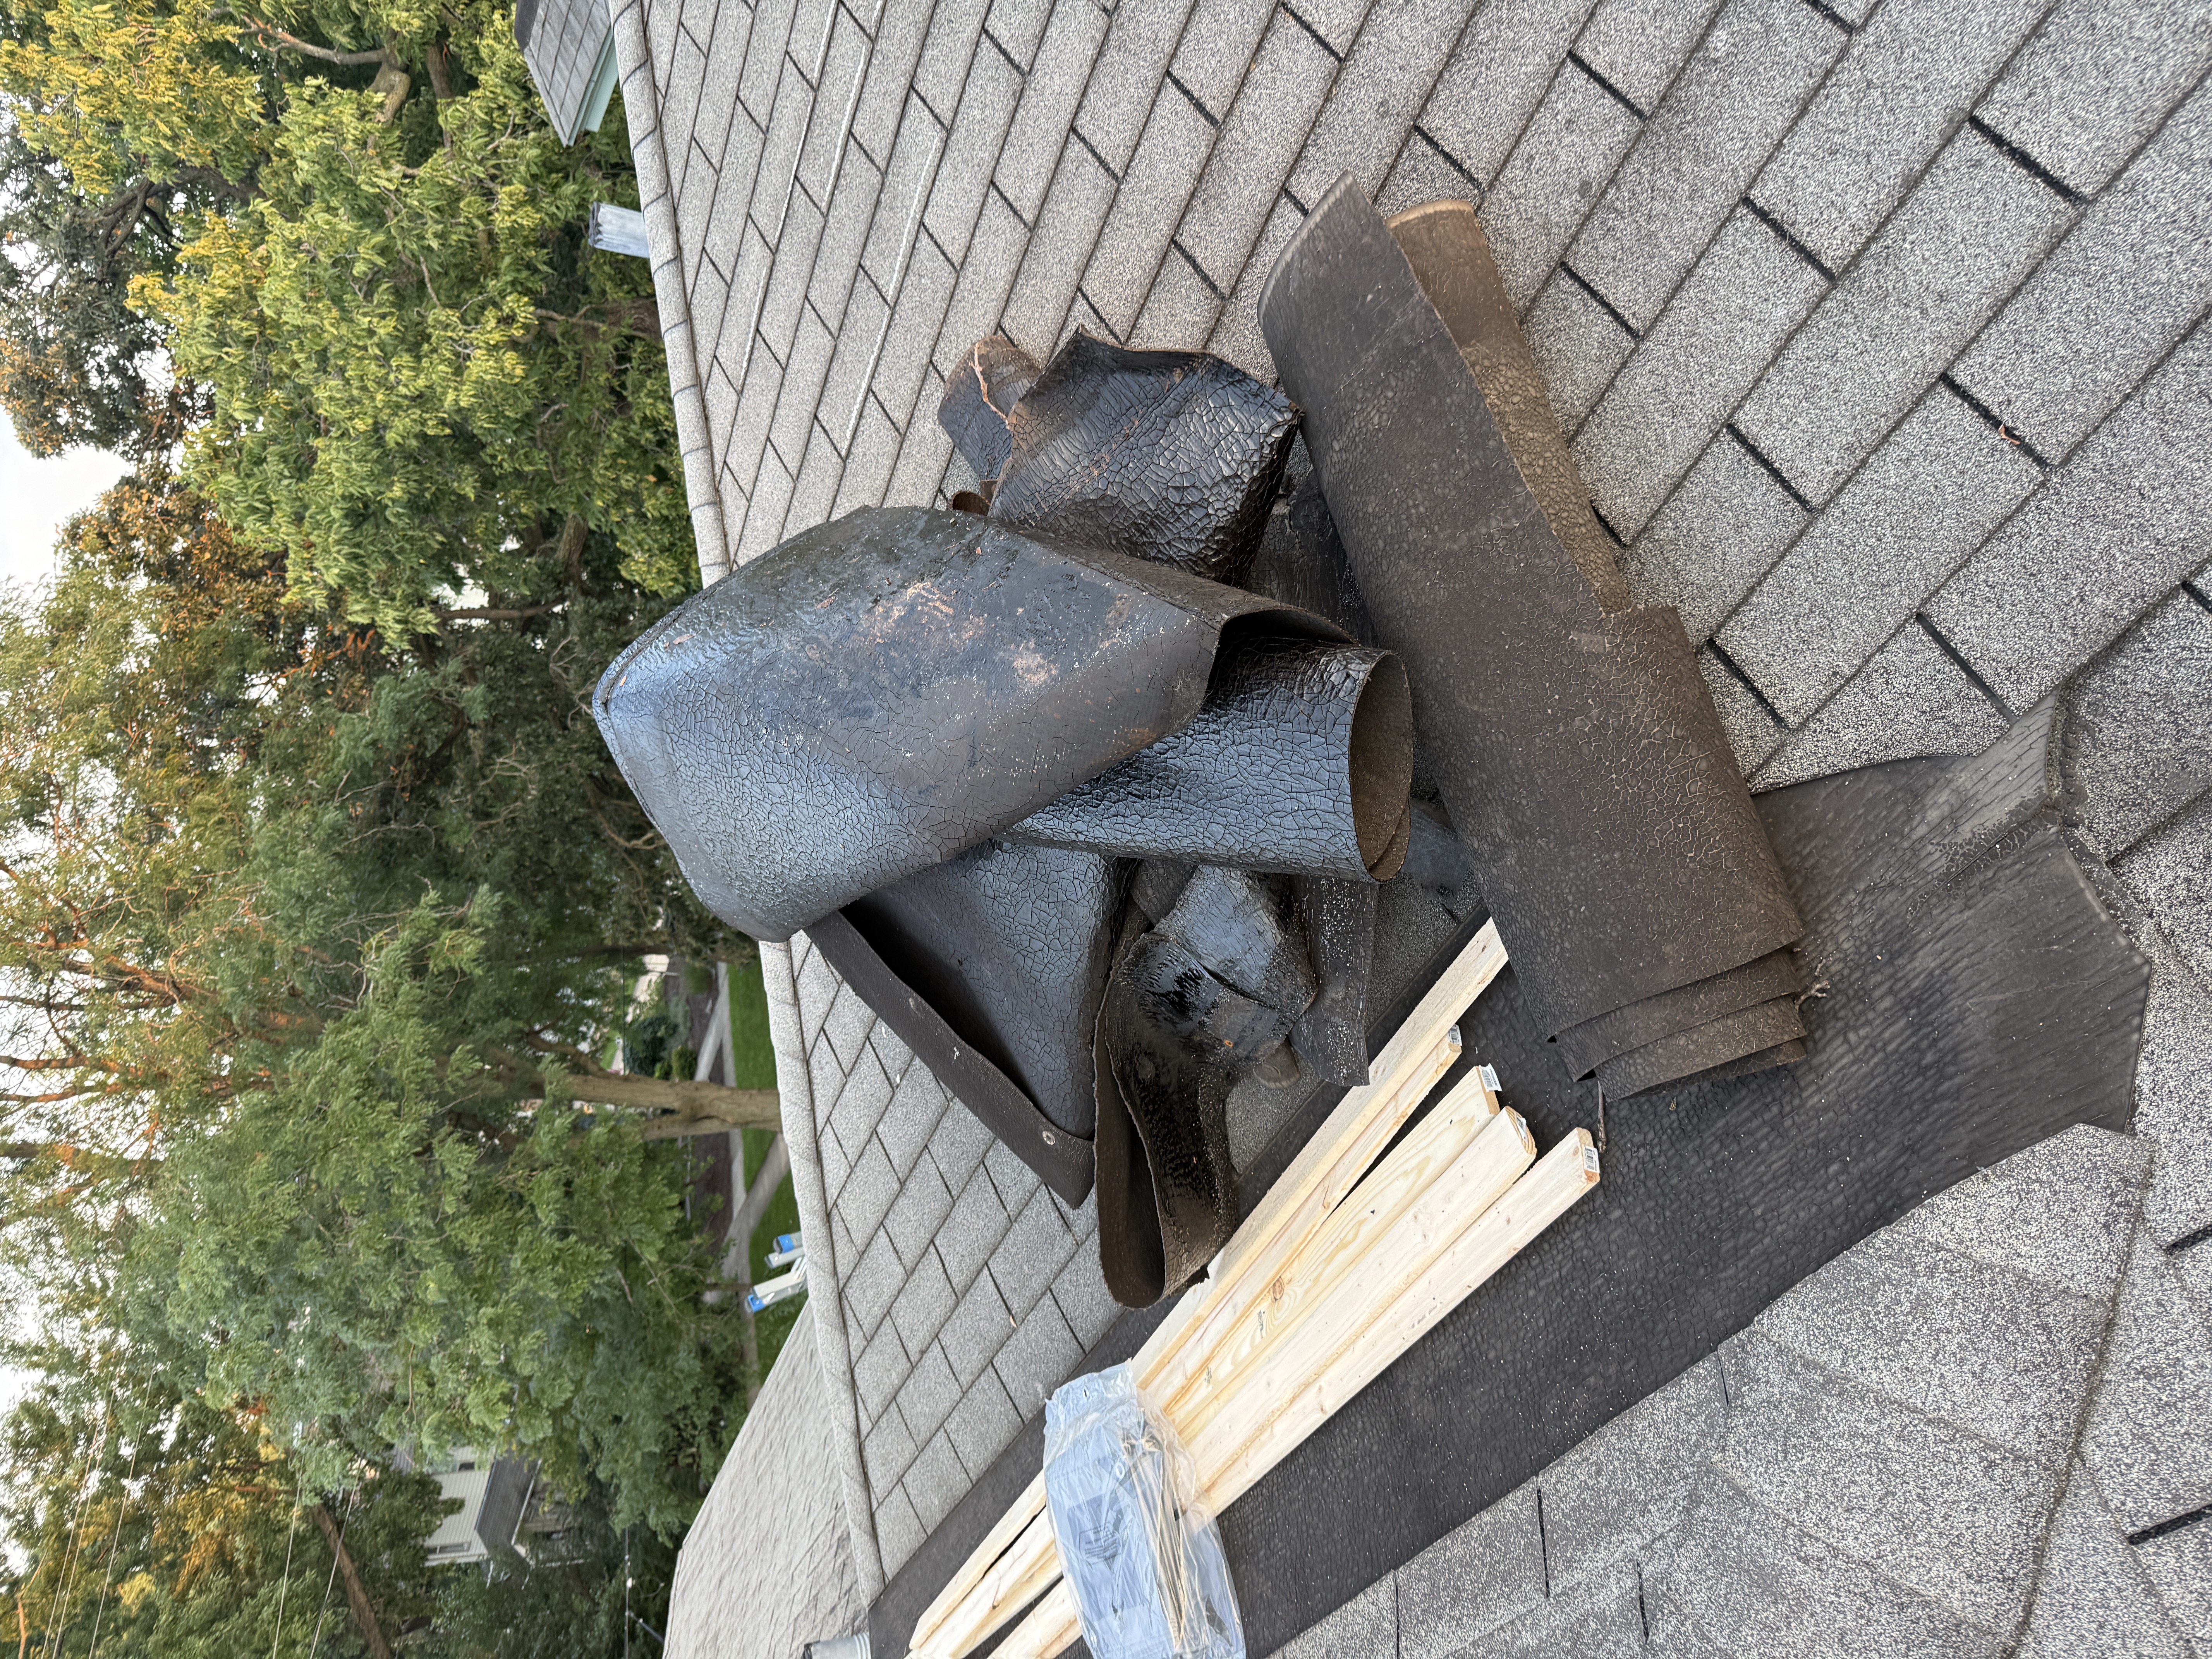 03EPDM Alligatoring
The removed EPDM shows classic “alligatoring” — a network of deep, interconnected cracks resembling reptile skin. This happens when years of UV exposure and temperature cycling dry out the rubber, making it brittle, inflexible, and prone to tearing loose in storms. Once alligatoring appears, the membrane has reached end of life.
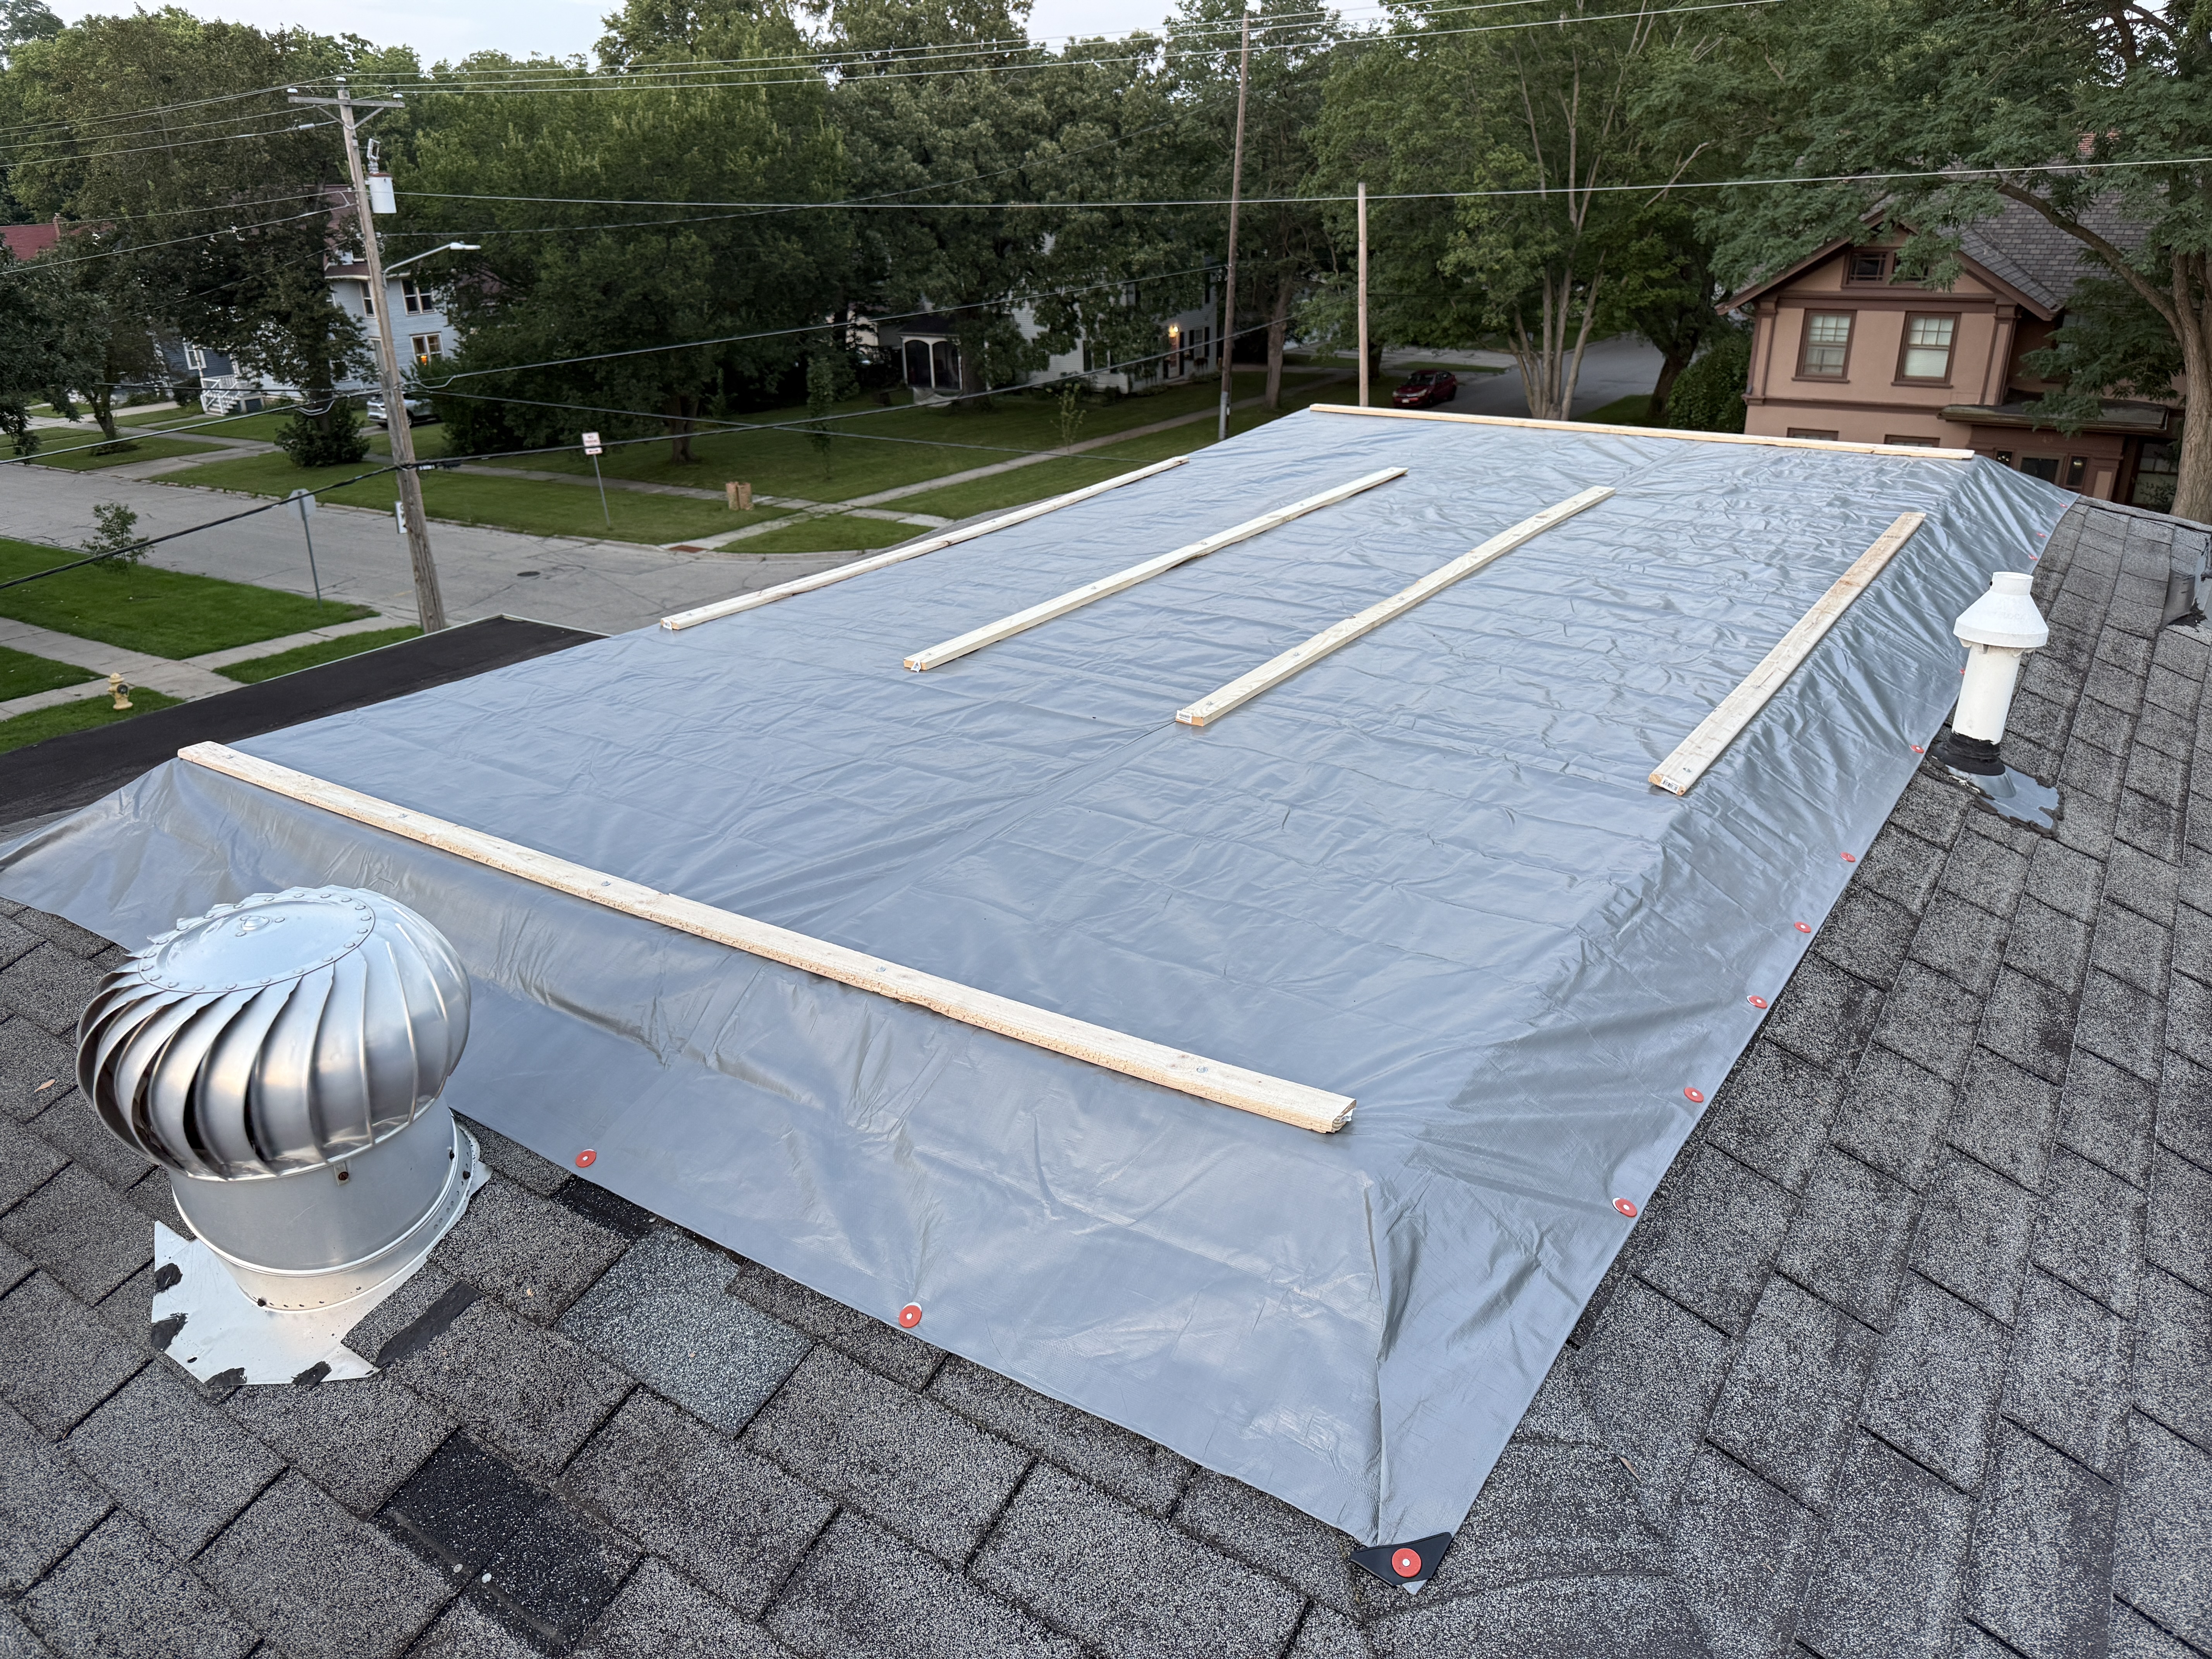 04Tarp Secured
Tarp rolled out and fastened with furring strips and button caps to seal the section against water intrusion.
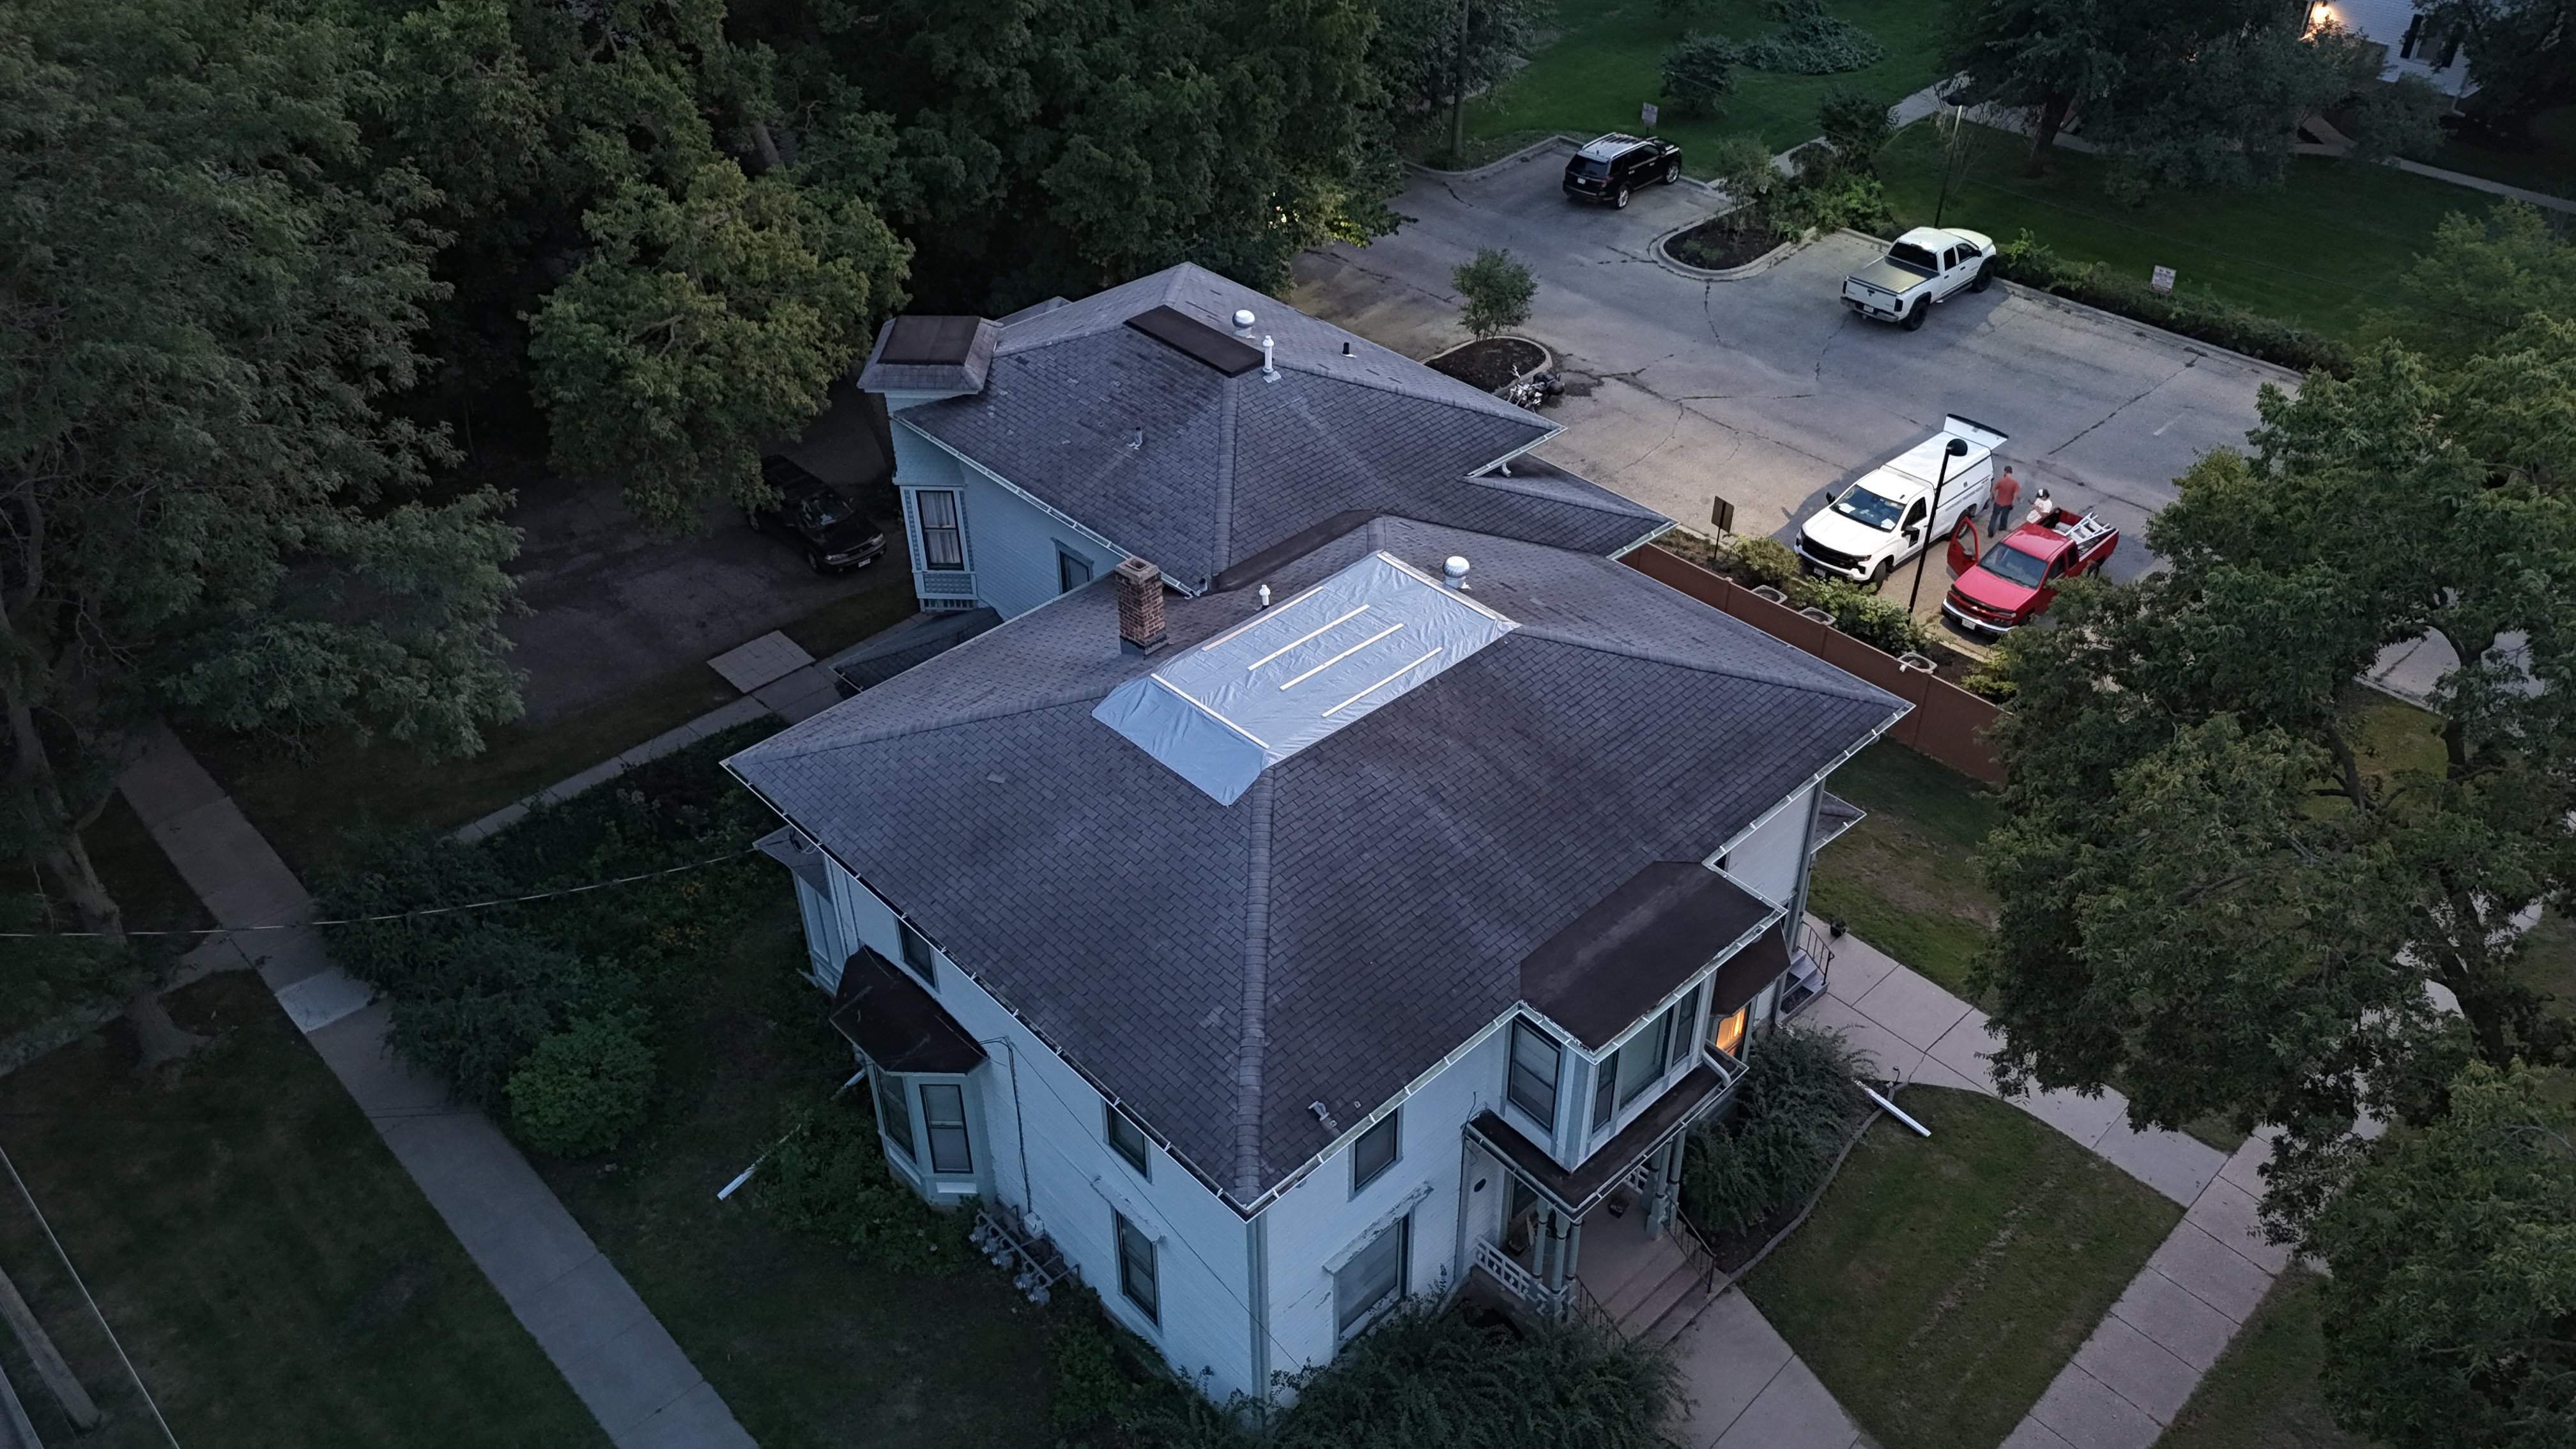 05Complete — Sealed & Watertight
Final drone pass confirms a fully sealed, watertight temporary repair — protecting the home until permanent replacement.
Repairs Starting at $200
Labor and diagnostic fee starting at $200. Final cost depends on repair scope, materials required, and roof accessibility. You'll always receive a clear estimate before any work begins.
1-Year Workmanship Warranty
Every repair we complete is backed by our 1-year workmanship warranty. If any issue arises from our work, we fix it — free of charge.
24/7
Emergency Service
1 yr
Workmanship Warranty
Same Day
Response Available
Repair Questions Answered
Common questions homeowners ask before scheduling a roof repair.
Ready to Build Something Extraordinary?
Whether you need a new roof, professional maintenance, a remodel, or custom workflows — the Hookset ecosystem has you covered. Let's talk.